The spur in action
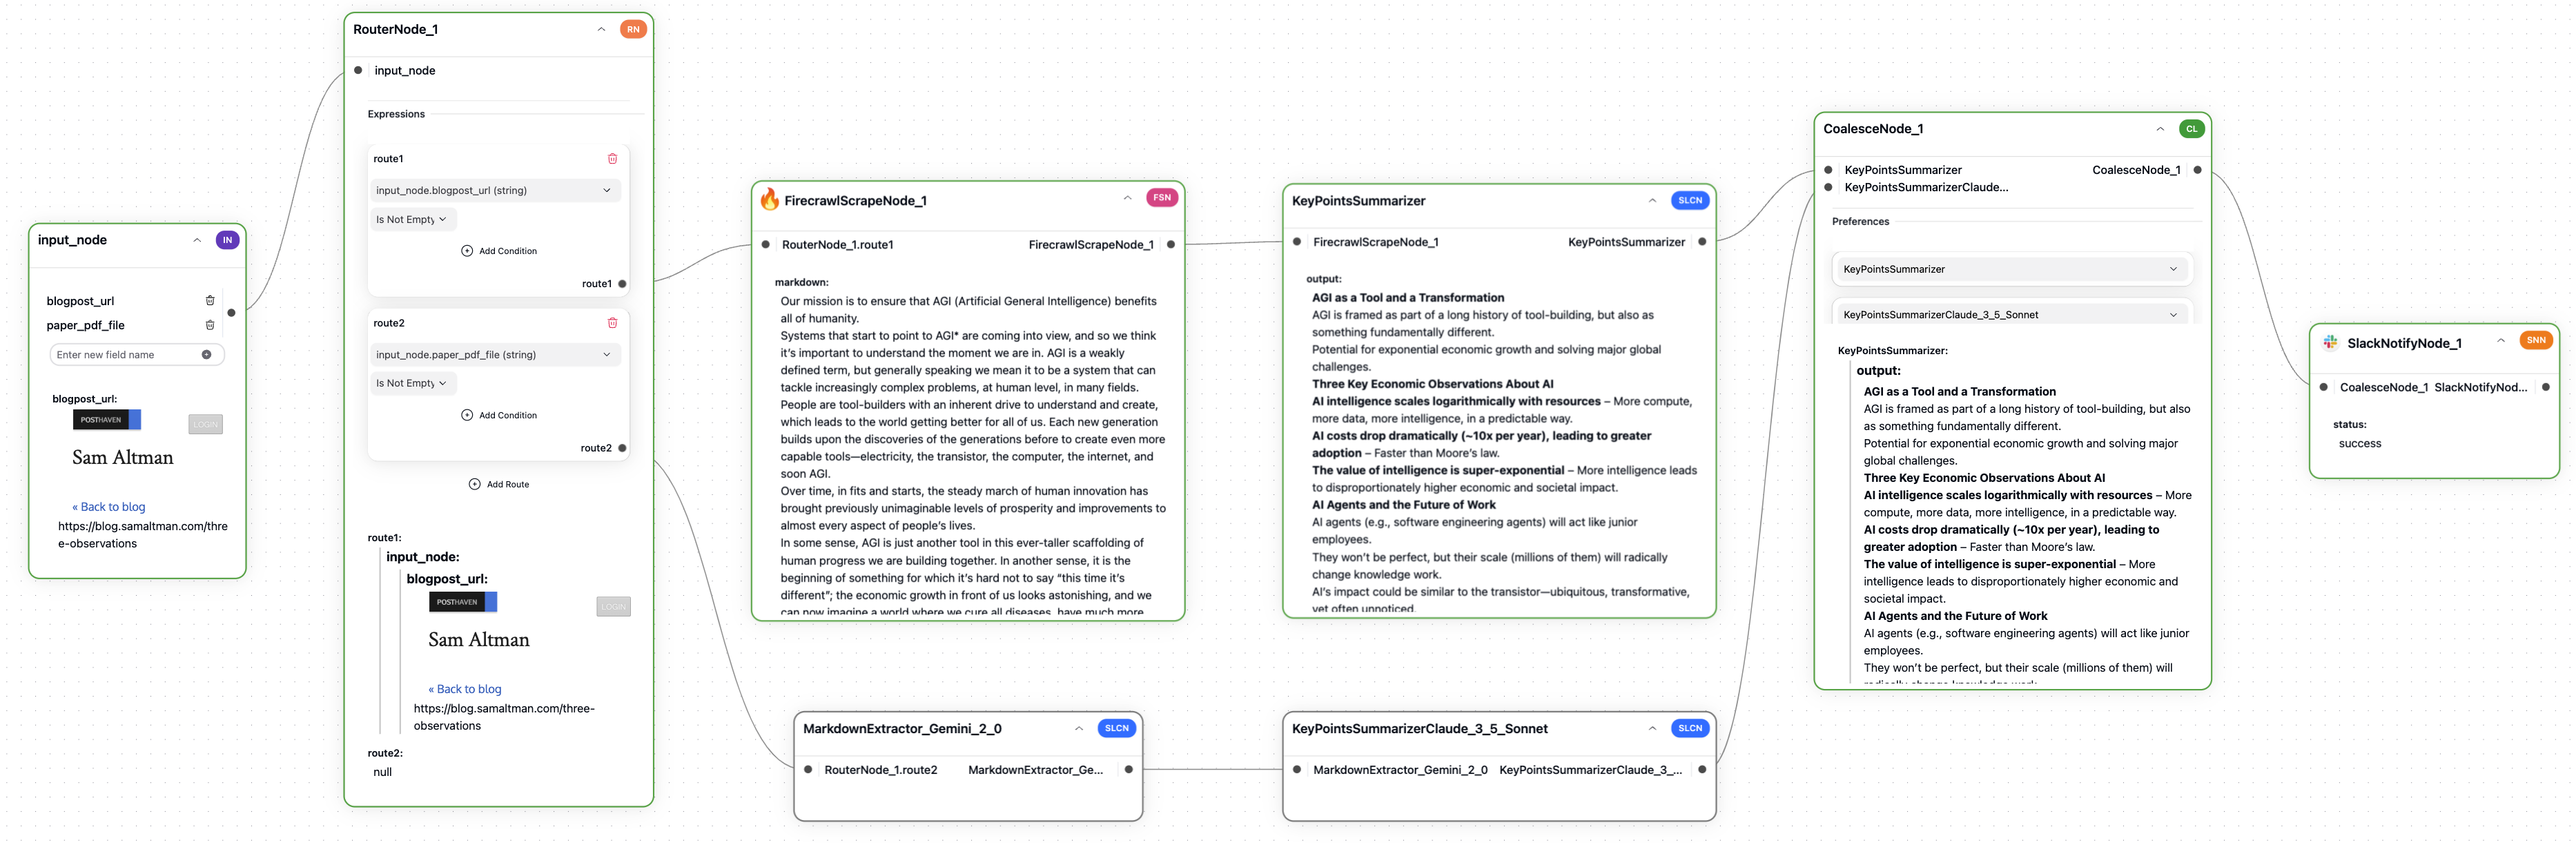
- The input can be either a blog post URL or a research paper PDF.
- We convert the input URL/PDF to markdown.
- We summarize the markdown content and post it on Slack.
Step by Step Tutorial
Now, let’s recreate that spur step by step.Input Node
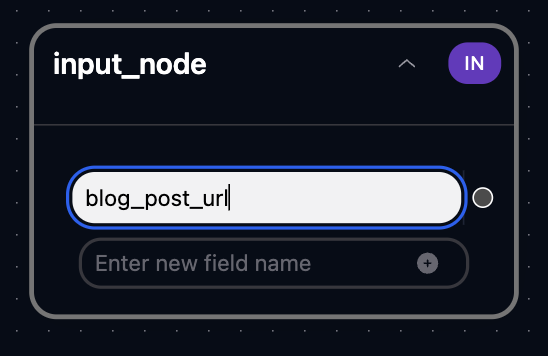
Each new spur includes a default input node. Its variables define the data used within the spur.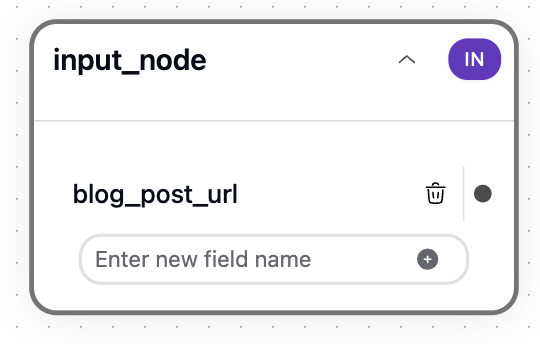
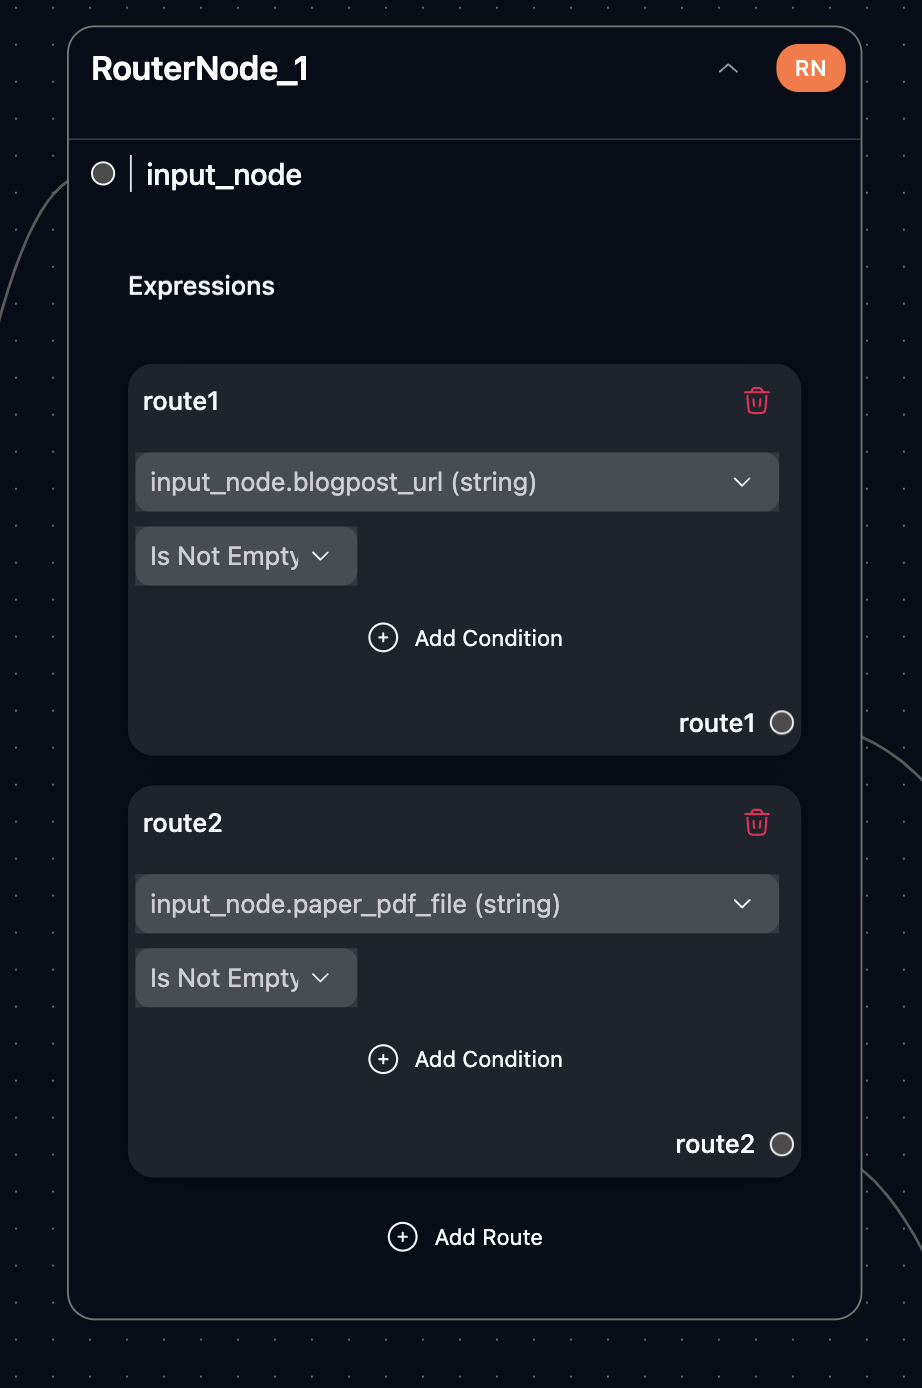
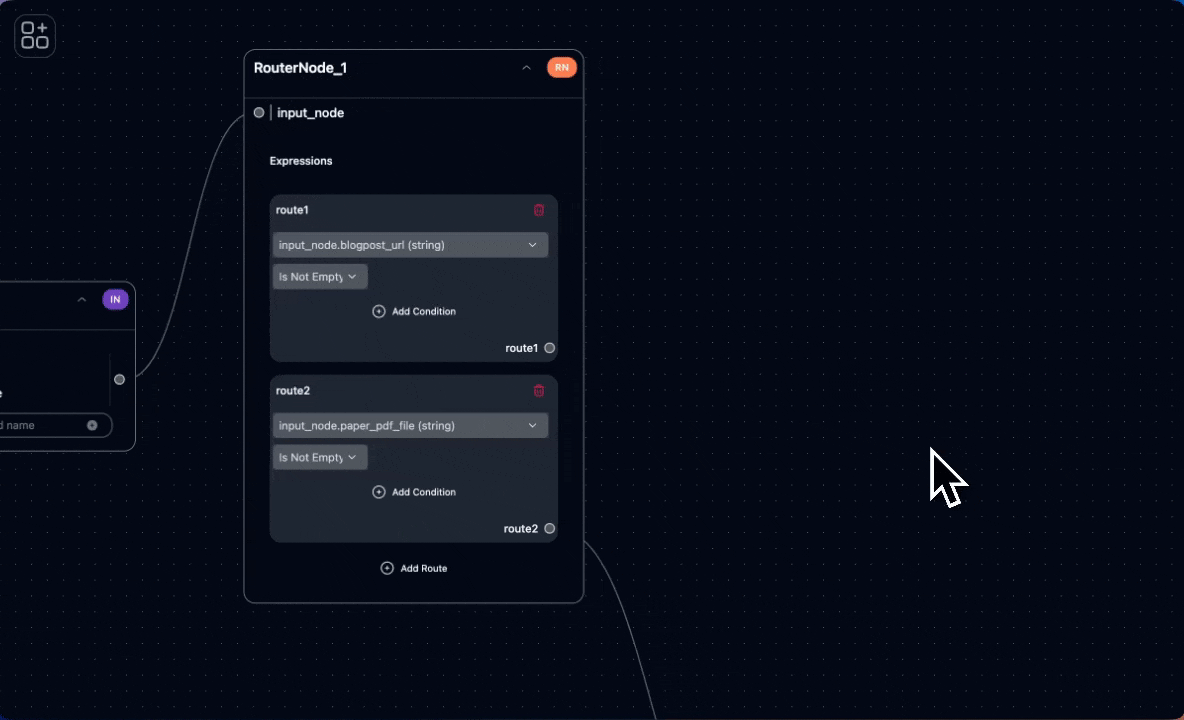
Router Node
The router node splits the pipeline based on input type:- Extract information via web scraping or PDF-to-markdown conversion.
- Summarize content according to different preferences.
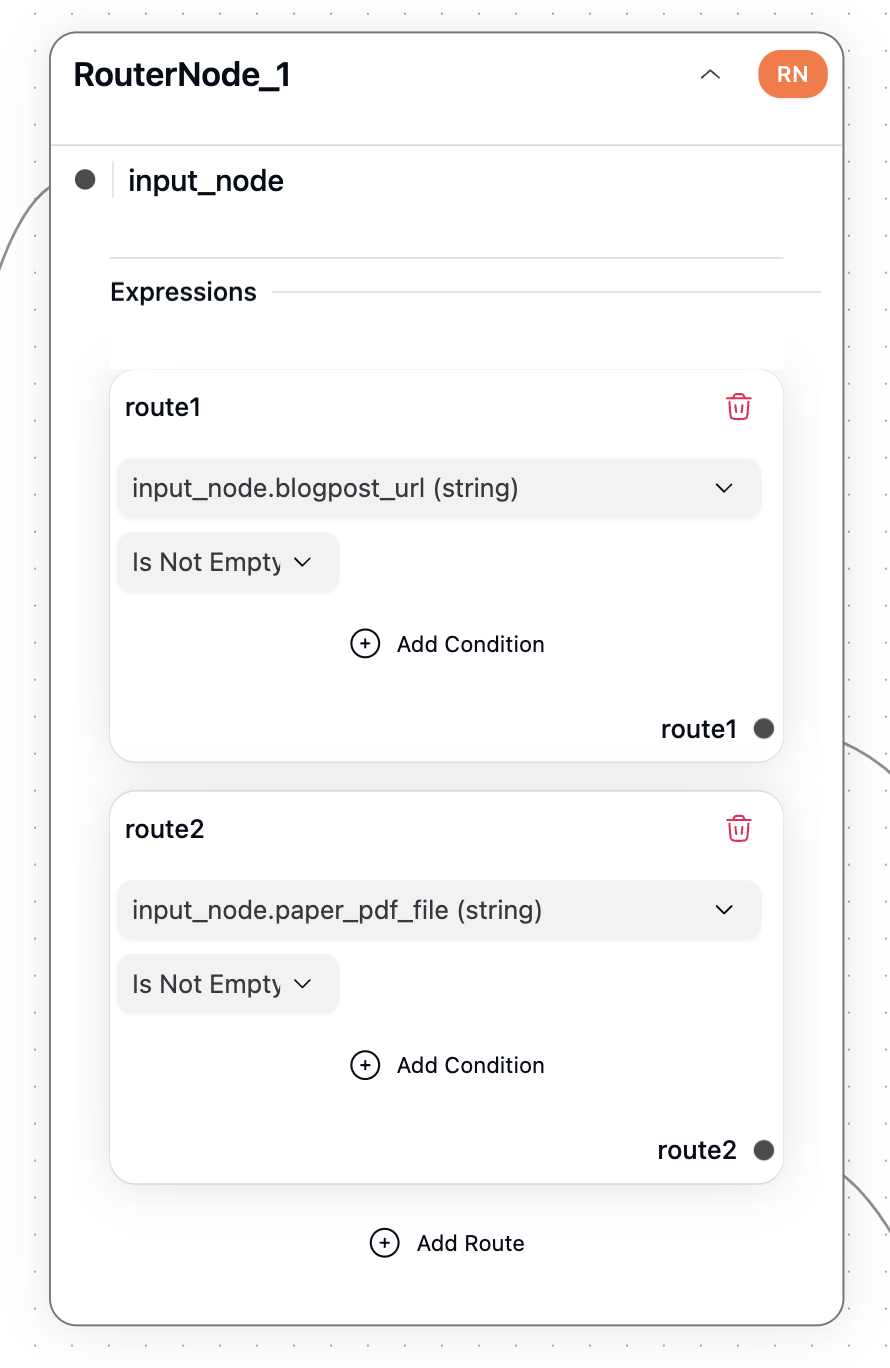
Route 1: Summarizing a Blog Post
First, we need to scrape the blog post’s URL and convert it into markdown. We use the Firecrawl tool for this purpose.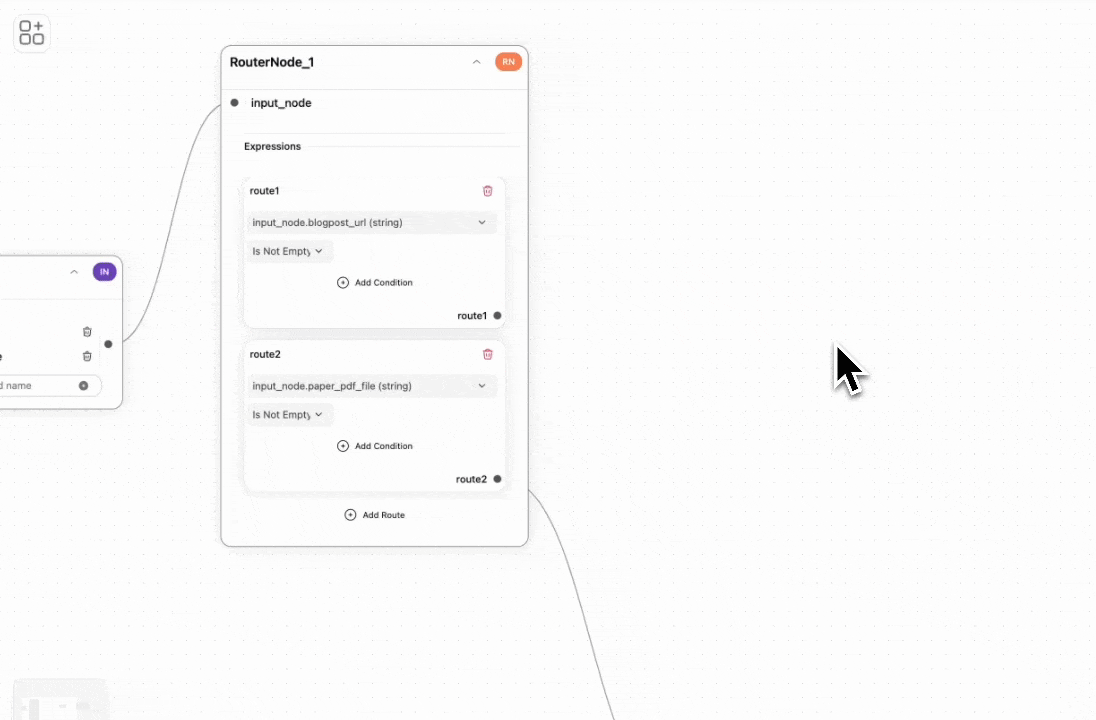
Quick Iterations Lead to Success
We can now create test cases with real URLs and PDF files, execute them, review the outputs at each node, and make adjustments until the results meet our expectations.Route 2: Extracting Markdown from PDF and Summarizing It
Next, we will handle the route for summarizing research papers. For this step, we add two LLM call nodes:MarkdownExtractor: extracts markdown from a PDF using Gemini 2.0 Flash.PaperSummarizer: summarizes the extracted markdown using Claude Sonnet 3.5.
Final Step: Merging Routes and Sending to Slack Bot
Bringing It All Together
This process is calledcoalescing: the CoalesceNode will return the value from one route, even if both routes are executed. In contrast, a merge would combine the results from both routes.
Once the routes are coalesced, we add a Slack bot node to send the results.
To test this setup, we use a test case involving a PDF.
General Tips
Now that you’ve built the spur, here are some tips to make you more efficient:Keyboard Shortcuts
⌘/CTRL + ENTER: Run the spur with your last test case⌘/CTRL + I: Re-organize the layout automaticallyArrow Keys: Move around on the canvas
Advanced Tips
- Jinja Templates: Under the hood, we use Jinja to create strings (e.g., messages) with data from previous nodes.
- The text editor provides buttons to insert data variables from incoming nodes, but you can also write custom Jinja code.
- Test Cases: Create different test cases for URLs and PDFs to ensure everything works
- Experiment with different models: Each model has its own unique style and personality.
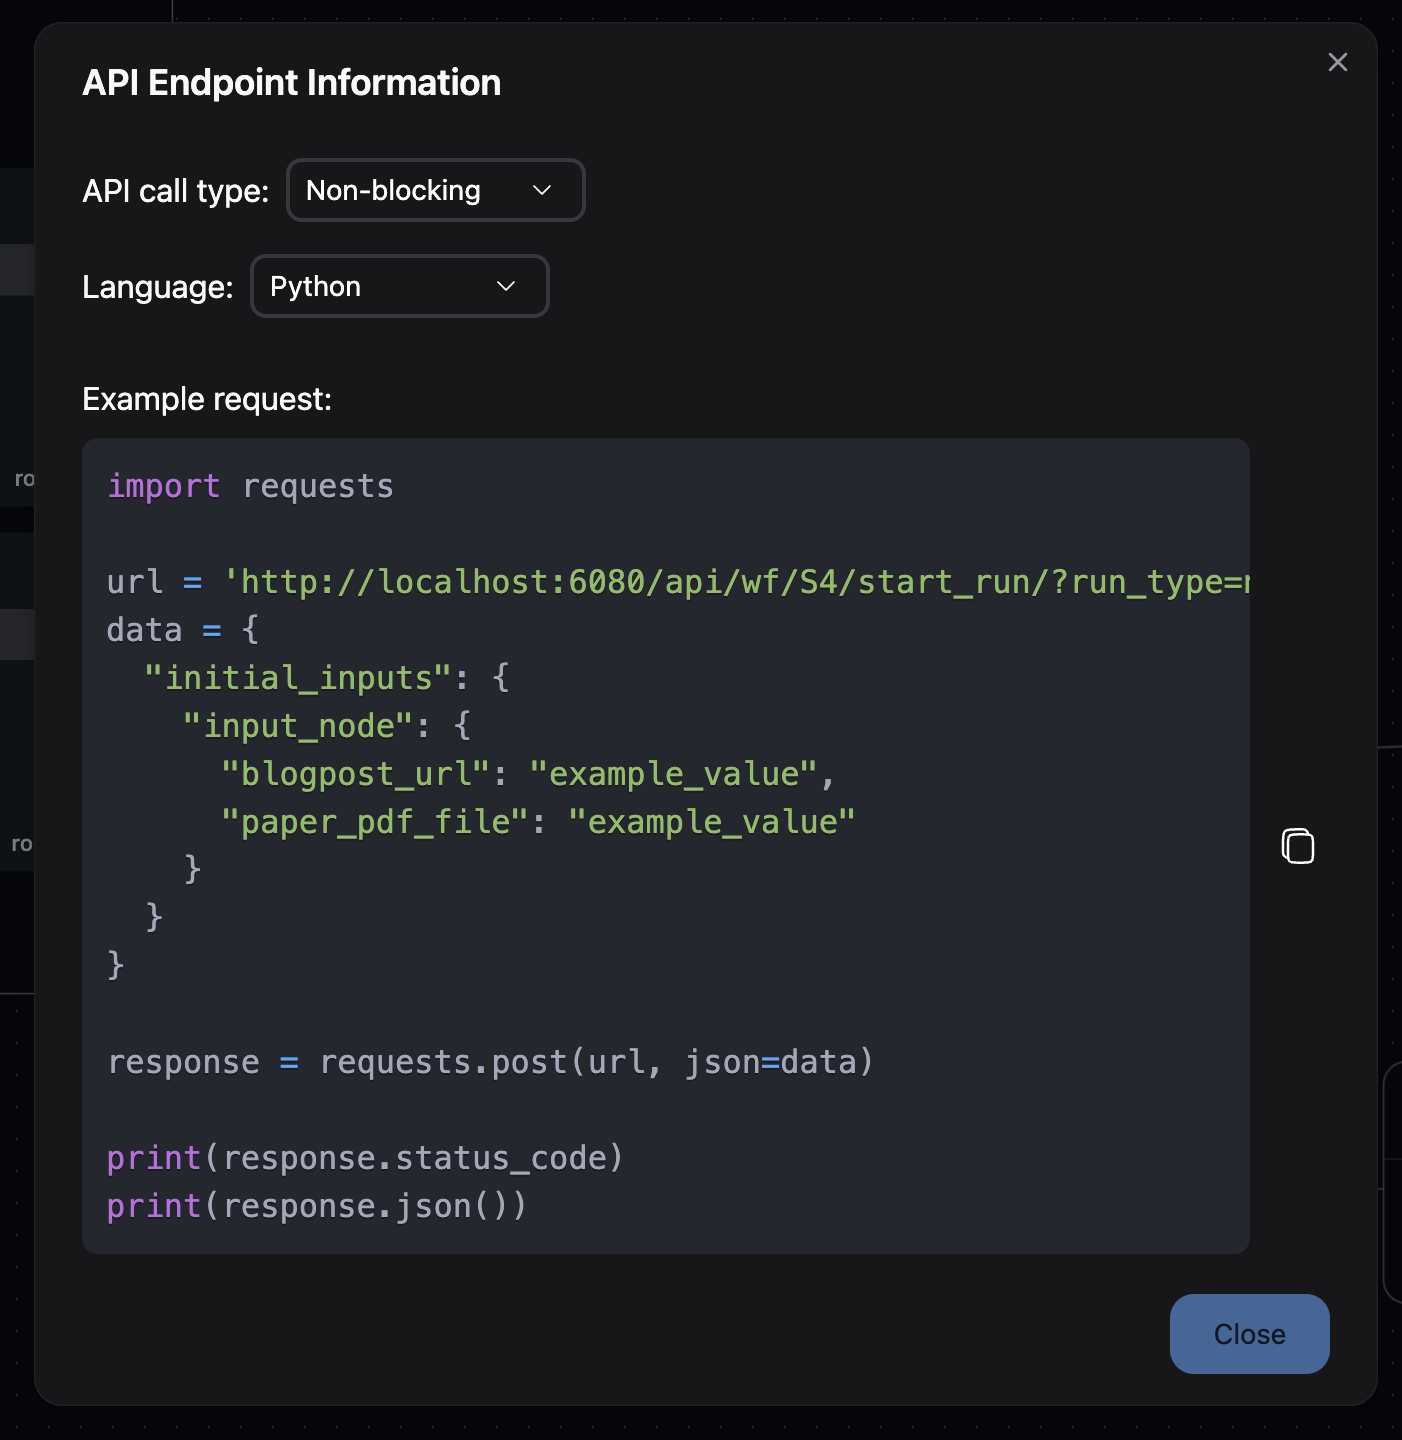
Deploy as an API Endpoint
With just one click, you can deploy the spur as an API endpoint and trigger it from anywhere. The outputs of all nodes will be returned.
Next Steps
If you want to now try PySpur yourself, you can clone the spur and try:- Customizing the summary prompt for your team’s needs
- Add another route for a different input type
- Create different summary styles for different Slack channels